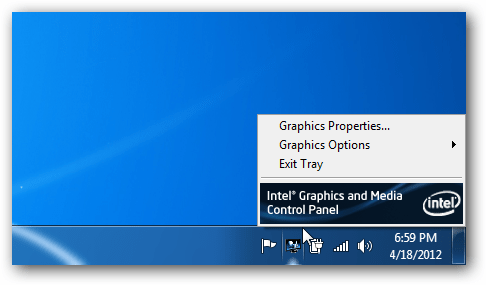
Here’s an example of the offending Intel Graphics icon. In this example, it’s a new Dell Inspiron N5040 laptop with the HD Intel Graphics utility. Go ahead and run it and set it how you want the graphics to display. Set the Graphics Properties an Graphics Options.
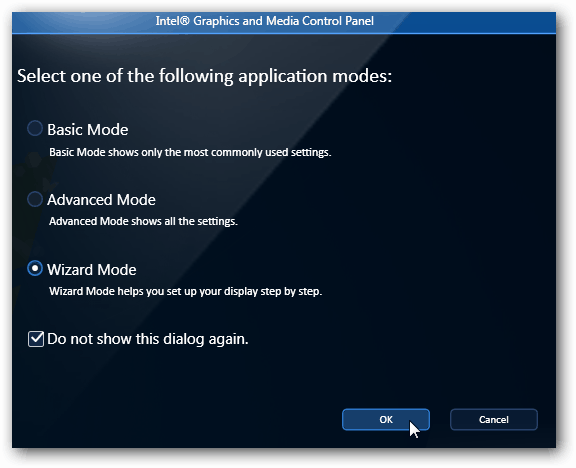
When you go into the Graphics and Media Control Panel, check Do Not Show this Dialog Again. Then select the type of Mode you want to use.
Go through the different options and set everything to your liking. Click OK when done.
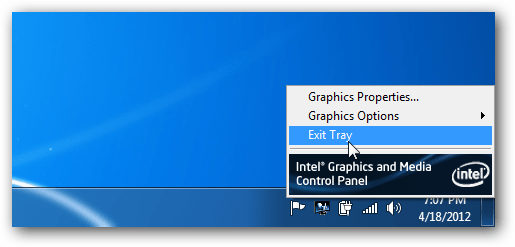
Now, click the Intel icon again and select Exit Tray.
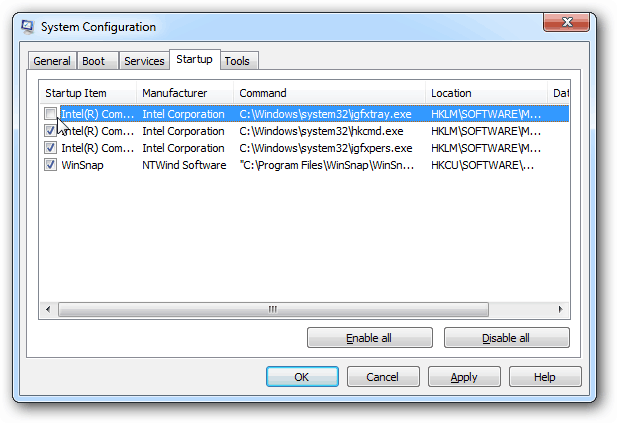
Now, to make sure it doesn’t appear the next time you restart, click Start and type: msconfig in the search box and hit Enter.
Then uncheck the Intel box with the command C:\Windows\system32\igfxtray.exe. Or you can uncheck them all actually then click OK.
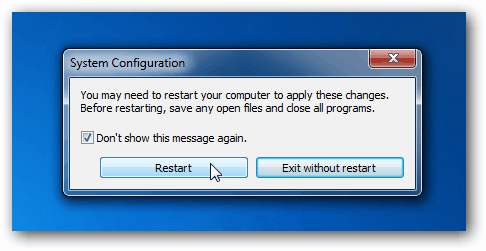
If this is your first time making changes to System Configuration, you’re prompted to restart your system.
When you get back from rebooting, the icon no longer appears. If you really need to use it again, just recheck the box in System Configuration.
I’m not sure why the Intel Graphics icon bothers me so much. Probably because it’s mediocre for adjusting the screen at best. But now you know how to disable it! Comment Name * Email *
Δ Save my name and email and send me emails as new comments are made to this post.


![]()
![]()
