How to Configure Storage Sense on Windows 10
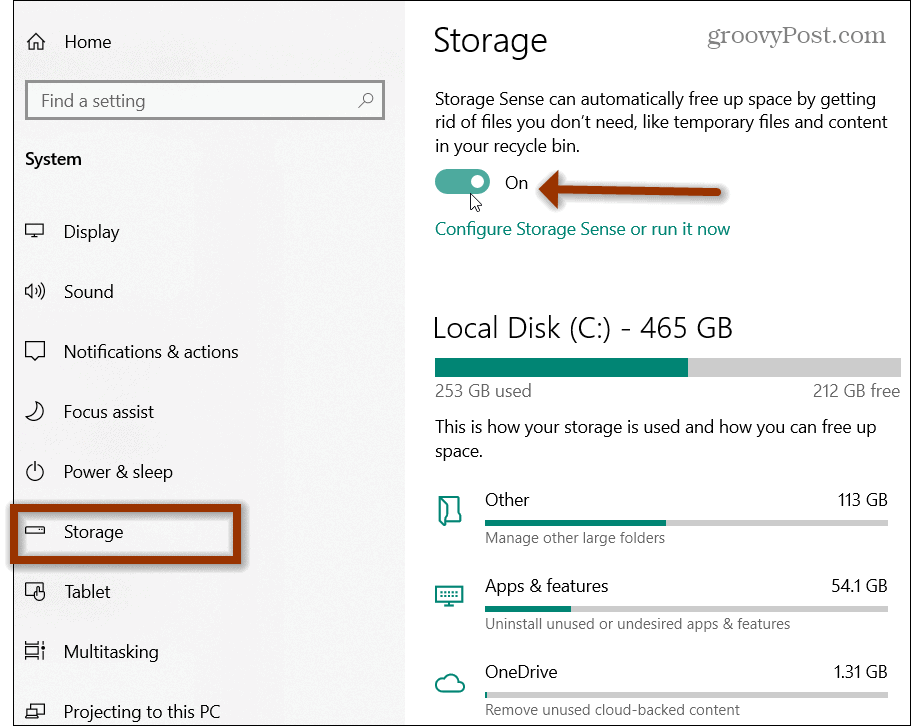
Start off by going to Settings > System > Storage, or use Windows keyboard shortcut Windows key+Q and type: storage. The Storage Sense option is hard to miss, just flip the toggle switch to enable it.
To customize Storage Sense, just click the “Configure Storage Sense or run it now” link.
Now you have several settings to choose from. First, and foremost, is to choose how often it runs. The default is every month which should be fine for most users. But you can change it to run every day, week, month, or when your system is low on disk space.
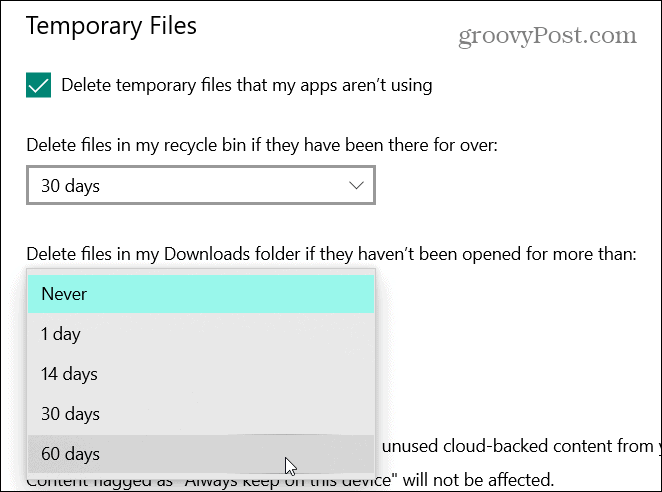
In most cases, the default settings are perfect. The Temporary Files option is automatically checked to delete temp files apps aren’t using. You can change it to delete files in your Recycle Bin every day, two weeks, month, 60 days, or set it to Never. If you have a bad habit of never deleting files in your Downloads Folder, you might want to select to have Windows automatically delete those files if they haven’t been changed for 30 or 60 days (or less). For most of us, downloads are kept for a reason (or on a separate drive). So it’s no wonder this is set to Never by default.
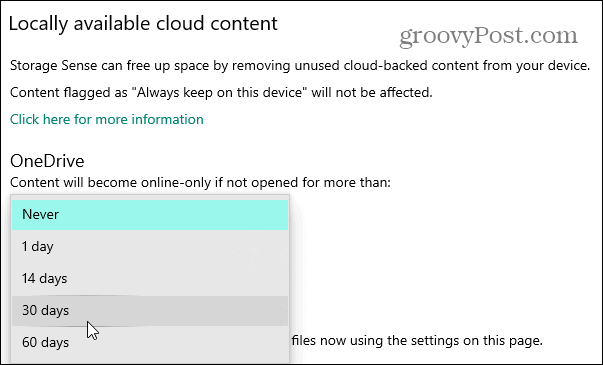
Storage Sense can also free up space by removing unused cloud-backed content from OneDrive. You can set the amount of time that passes before OneDrive content becomes online-only.
Manually Run Storage Sense
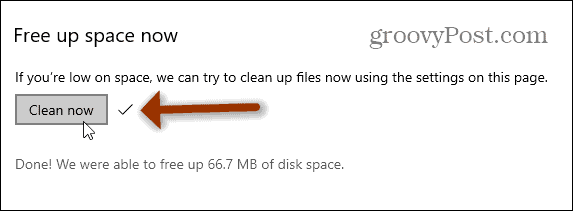
If you prefer not to wait for the allotted times you set, you can manually run Storage Sense. Just click the Clean Now button at the bottom of the list under the “Free up space now” section.
Storage Sense will run and clean up files you no longer need. Wait while it runs and when it’s done you will see how much disk space was freed up.
The Windows 10 OS continues to get stronger and stronger with each Windows Update. The Windows 10 Storage Sense feature is a good example of this. Previously, disk cleanup was fairly manual, however, for me, it’s hard to beat automatic — just set it and forget it. If you’ve cleaned up your drive and still need more room, consider clearing your browser cache or using another tool like CCleaner to free up temporary files from other applications installed on your system. And if you really need to reclaim a broader chunk of space, check out our guide for freeing up drive space on Windows 10. And – now I should trust Microsoft software to get rid of the recycle bin content as a background task Could someone explain to me what, actually, is the purpose of the Recycle bin. I thought it was to allow me to check if I had inadvertently selected some files for deletion that I did NOT want to have deleted! Now – Delete temporary files that are not being used – YES – how about including a selection option for files that were created by Windows and Windows Update that are not being used! Files such as those associated with Windows Update that predate the required win-10 update, that I had to install or have my the update facility cause my system to stop working unless I had them installed (as in those issued more than 35 days ago) – Now that could be very useful! Comment Name * Email *
Δ Save my name and email and send me emails as new comments are made to this post.


![]()
